- Your cart is empty
- Continue Shopping


Pipette Calibration: Why It Matters and How to Do It Right
- Pipette
- Posted on
-
by perf__products
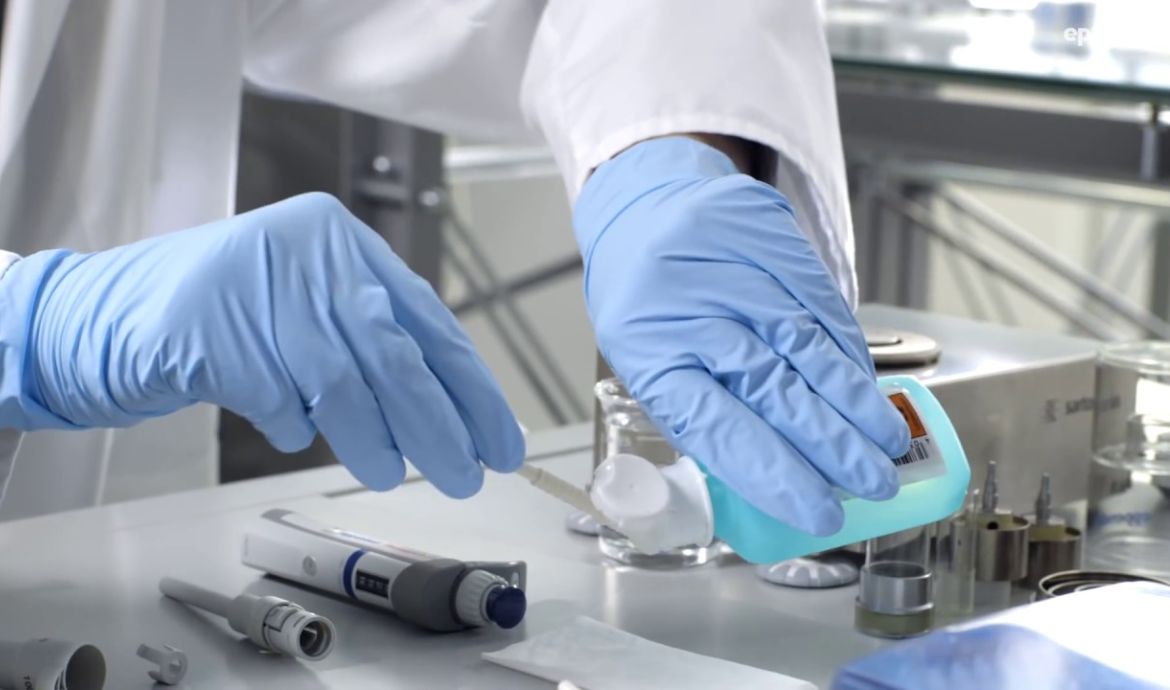
Pipette calibration is crucial for achieving accurate and consistent results in any laboratory setting. Regular calibration not only ensures precise volume measurements but also maintains the integrity of experiments and supports regulatory compliance. In this article, we’ll explore the importance of pipette calibration and outline step-by-step guidelines for performing it effectively.
1. Why Pipette Calibration Matters
Calibration is the process of verifying and adjusting a pipette’s volume accuracy to ensure it dispenses the intended amount of liquid. Here’s why regular pipette calibration is essential:
- Accuracy and Precision: Accurate pipetting is vital in sensitive experiments, where even slight volume discrepancies can affect results.
- Quality Assurance: Regular calibration ensures data integrity and supports repeatability, helping maintain consistency in experimental outcomes.
- Compliance: Many labs are subject to regulatory standards, such as GLP (Good Laboratory Practice) and ISO, which mandate regular pipette calibration for quality control.
- Cost-Effectiveness: Proper calibration extends the life of pipettes, reducing the need for early replacement and minimizing wastage of costly reagents.
Neglecting pipette calibration can lead to errors, data variability, and unreliable results, impacting the lab’s efficiency and accuracy.
2. When to Calibrate Your Pipettes
The frequency of pipette calibration depends on usage, application, and quality standards. Here are general guidelines:
- High-Volume Labs: In high-use labs, calibration should be conducted every 3 to 6 months.
- Low-Volume Labs: For low-use or teaching labs, every 6 to 12 months is usually sufficient.
- After Mechanical Issues: If a pipette has been dropped or exhibits irregularities (e.g., inconsistent dispensing), calibrate immediately.
- For Critical Applications: For applications with extremely sensitive measurements (e.g., drug development), monthly or even weekly calibration may be needed.
Establishing a calibration schedule based on the lab’s specific needs helps maintain accuracy and ensures compliance with internal and external standards.
3. Steps for Proper Pipette Calibration
Pipette calibration typically involves gravimetric analysis, where the dispensed liquid is weighed to assess accuracy. Here’s a step-by-step guide to performing a basic calibration.
Step 1: Gather Necessary Materials
- Precision Balance: Use a calibrated analytical balance with high accuracy (e.g., 0.0001 g).
- Distilled Water: Pure water is often used for calibration due to its stable density.
- Thermometer: Measure the water temperature to adjust for density variations (ideally, between 20–25°C).
- Calibration Software or Documentation: Documenting results manually or through software is essential for record-keeping.
Step 2: Prepare the Pipette and Balance
- Ensure the pipette is clean and free from any residue.
- Allow the pipette and water to stabilize in the same environment for about 30 minutes.
- Zero the balance with an empty container or weigh boat placed on it.
Step 3: Perform the Calibration
- Aspirate and Dispense Water: Use distilled water for calibration, as its density is predictable.
- Weigh the Dispensed Water: After dispensing water, weigh it on the balance, noting the mass in grams.
- Repeat the Process: Conduct at least 10 measurements for accuracy. Each measurement helps reduce random error and provides a reliable average.
Step 4: Calculate the Results
- Convert Mass to Volume: Using water’s density at the recorded temperature, convert the mass (g) to volume (µL or mL).
- Determine Accuracy and Precision:
- Accuracy: Compare the average dispensed volume to the intended volume. Calculate percent error.
- Precision: Calculate the standard deviation of your measurements to assess the pipette’s precision.
Step 5: Adjust Calibration as Needed
If the pipette’s accuracy or precision falls outside acceptable limits, adjust the calibration mechanism (typically the plunger screw) according to the manufacturer’s guidelines. After adjusting, repeat the calibration to confirm the pipette is now within the specified tolerance range.
Step 6: Document the Results
Record the calibration data, adjustments made, and the final accuracy and precision values. Retain these records for regulatory purposes and future reference.
4. Best Practices for Accurate Calibration
To ensure reliable calibration results, follow these best practices:
- Pre-Wet the Tip: Pre-wet the pipette tip by aspirating and dispensing water a few times to condition the tip for the solution.
- Correct Immersion Depth: Immerse the pipette tip only as far as recommended by the manufacturer (usually 1-2 mm for small volumes) to avoid excess liquid uptake.
- Steady Pipetting Speed: Use a consistent, steady pipetting rhythm to reduce variations due to technique.
- Avoid Environmental Variations: Conduct calibration in a stable environment, free from temperature fluctuations and air drafts.
- Use Calibration-Grade Equipment: Ensure the balance, thermometer, and other equipment are accurate and calibrated themselves.
5. In-House vs. Professional Calibration
While basic calibration can be performed in-house, certain situations call for professional calibration services:
- Accreditation Requirements: Accredited labs often require third-party calibration to meet regulatory standards.
- Advanced Calibration Needs: For highly sensitive applications, a professional service can provide advanced calibration techniques and certificates.
- Complex Pipette Types: Electronic or multi-channel pipettes may require specialized calibration that is best handled by trained professionals.
6. Maintaining a Calibration Schedule
Developing a regular calibration schedule ensures consistent accuracy and compliance. Here’s how to structure it:
- Set Reminders: Use digital reminders or maintenance logs to track calibration intervals.
- Establish Tolerances: Define acceptable accuracy and precision tolerances for each pipette.
- Assign Responsibility: Designate lab personnel responsible for calibration to ensure accountability.
- Document Every Calibration Event: Maintain a detailed record of calibration results for quality control and audit purposes.
7. Troubleshooting Common Calibration Issues
- Inconsistent Results: Variability in measurements may result from technique inconsistencies. Ensure proper pipetting technique is used, or consider professional recalibration.
- Persistent Inaccuracy: If a pipette remains inaccurate after adjustments, it may need repair or part replacement (such as O-rings or seals).
- Environmental Interference: Drafts, vibrations, or extreme temperatures can disrupt measurements. Calibrate in a controlled environment to minimize these effects.
8. Conclusion
Pipette calibration is a vital practice that ensures accuracy, precision, and compliance within the lab. By following a consistent calibration routine, using best practices, and troubleshooting common issues, labs can maintain the reliability of their pipettes, ultimately supporting data integrity and cost-efficiency. Whether performed in-house or through professional services, regular calibration is essential for high-quality results and streamlined lab operations.